Learn How To Make Beautiful Shoe Racks Yourself
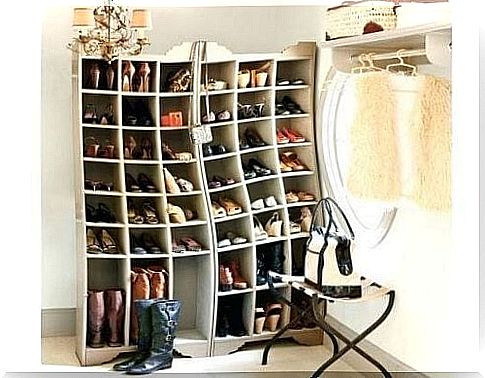
Shoe racks are ideal for keeping your shoes organized and in view. It’s a good way to keep your shoes from swinging all over the house.
Being disorganized often takes time, especially if you’re in a hurry. That is why it is good to always look for alternatives that help you keep your house in order.
In the following article, we’ll take a look at some smart ideas for making your own shoe racks. We’ll show you that you don’t need a lot of material, and that you can go through the steps easily and quickly.
A few things to remember
Shoes should be kept in an appropriate place. Not only does this look neater, it also ensures that your shoes stay beautiful for longer. For example, it prevents you from standing on those beautiful but vulnerable silk or suede shoes.
You don’t keep your sandals and flip flops in the same place as your boots. You may use sports shoes on a daily basis, so you want to have them easily at hand.
By using shoe racks it is easy to see how many pairs of shoes you have and where they are. Don’t miss our recommendations. It’s time to roll up your sleeves!
1. Shoe racks made from pallets
You can make your own shoe racks using pallets. These can be found at supermarkets or large stores. You often find them at shops that sell drinks.
It is completely hip these days to give these types of materials a new life. In addition, they look very original and you can decorate them with different techniques.
You can also use wooden fruit and vegetable boxes.
The number of pallets you need depends on the number of shoes you own. In addition, you also need a free wall to place the boxes against. If you keep this rack in plain sight, it will match the room nicely.
materials
- 1 hammer
- sandpaper for wood
- 1 or 2 pallets (depending on how many you need)
- paint or varnish (depending on how you want to decorate the rack)
Construction
- Use the hammer to loosen the center planks. Leave the planks on the side. The result resembles a kind of picture frame.
- Then use the hammer to remove the nails.
- Then sand all the wood thoroughly.
- Paint to your preference. One suggestion is to preserve the natural color of the wood. Use lacquer, directly on the wood or over a coat of paint.
- Once the rack is dry you can place it wherever you want. The idea is that it becomes part of your wall, because it resembles a painting.
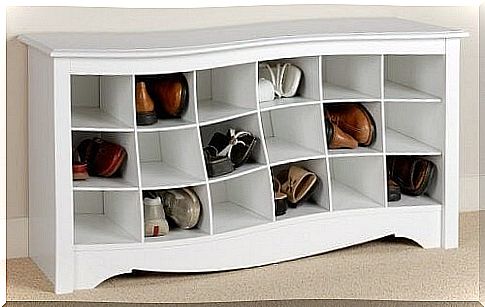
2. Wooden Shoe Racks
Another way to make your own shoe racks is to use wood or metal bookshelves. This option works well if you want to show off your shoes, but also if you want to keep them in the closet.
The handy thing is that you can give the shelves the right height, without wasting space. We recommend placing the rack against an empty wall in this case.
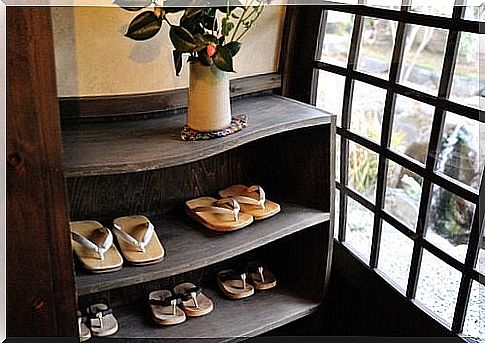
Stair steps that are not in use can also be a handy storage place for shoes. You can paint or varnish them to your taste. You can also use the steps to support the planks. They can be different sizes for a casual look.
materials
- Planks of wood or metal about 1.20 m long
- Supporting beams for steps or stairs
- Screws to fix them to the wall
- Paint or varnish
Construction
- Take the wooden or metal planks and paint them as desired.
- Measure the wall against which you want to place the rack.
- Place the supporting beams or the steps in the chosen position.
- Then place the planks on top of this.
- Put the shoes where you want.
3. Cardboard shoe racks
This third option is the most useful. It’s accessible, fun and easy to make. In this case, we use cardboard as the material. This is without a doubt a great way to recycle!
The best feature of this shoe rack is that you can create as many compartments as you want. For example, you can create a separate compartment for each pair of shoes you have. You can also easily add boxes later with cardboard boxes.
We are going to make small triangular pockets to put your shoes in. This option takes up little space, and you can place this rack somewhere in plain sight. You can also put them in the bottom of a closet if you prefer to keep your shoes out of sight. Below we tell you how to make this shoe rack.
materials
- cardboard
- ruler
- pencil
- adhesive tape
- brushes
- acrylic paint
Construction
- Take a piece of cardboard about 40 x 40 cm. Use a ruler to divide the cardboard into three equal parts. You can adjust the size according to the shoe size. For children’s shoes, 15 x 15 cm is sufficient.
- Then fold the cardboard in the shape of a triangle.
- Stick the cardboard well with adhesive tape so that the shape is preserved.
- Paint in a color of your choice, both inside and out.
- Make a horizontal row of triangles and place a piece of flat cardboard on top. On top of this piece of cardboard you can add another row of boxes if you like.
- Make as many floors as you want.